| |
|
STEP
|
|
|
IMAGES
|
|
DIRECTIONS
|
| |
|
1
|
|
|
 |
|
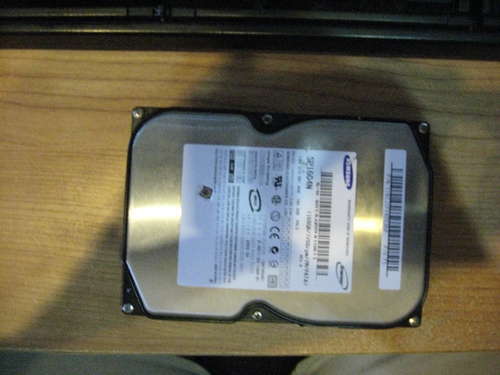
Required for this procedure
To disassemble a hard drive: (1) the Hard drive; (2) an Allen wrench; (3) a Phillips screwdriver; (4) a flat-tipped screwdriver; (5) a star-tipped screwdriver; and (6) screw storage.
|
| |
|
2
|
|
|
 |
|
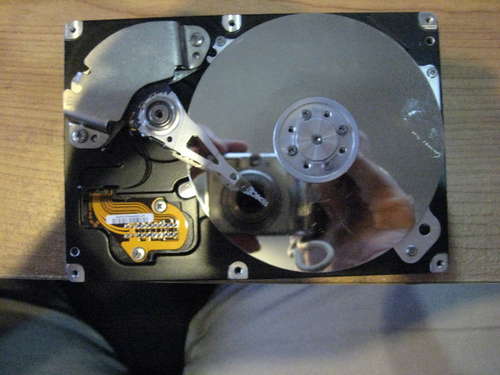
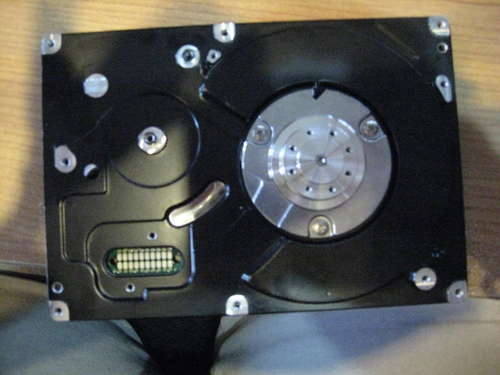
Remove the shell screws
Unscrew six screws along the outer edge and one hidden screw under by removing the label entirely or pushing through the label to access that screw, near the actuator arm.
|
| |
|
3
|
|
|
 |
|
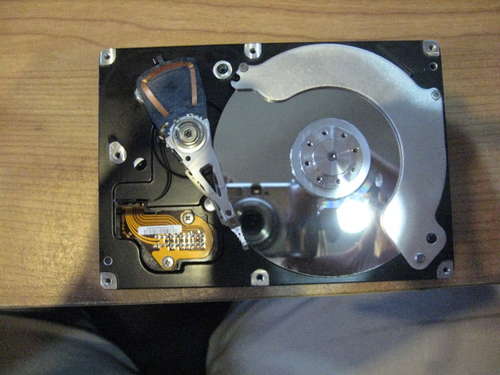
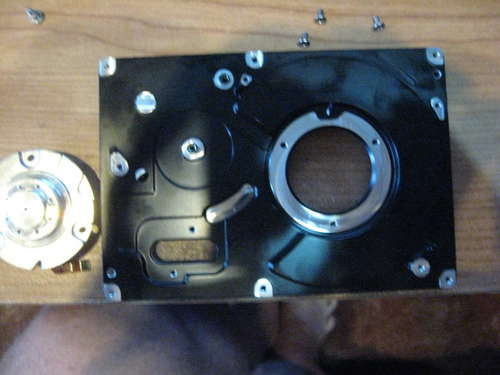
Remove the shell
Insert the flat tipped screwdriver at ei ther of the two spots marked on the picture around the hard drive pry at them as needed to release the adhesive on the inside of the top.
|
| |
|
4
|
|
|
 |
|
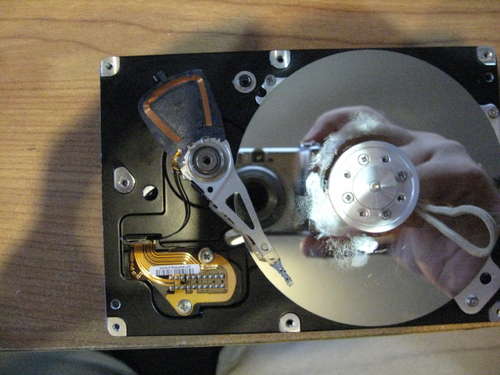
Remove the magnet assembly
Unscrew the two screws on both sides of the magnets, swing it to the left and remove it by lifting it up and out.
|
| |
|
5
|
|
|
 |
|
Remove the top platter
Unscrew four screws holding the washer down make sure when you remove the screws to hold it down a little or it will rotate unnecessarily.
|
| |
|
6
|
|
|
 |
|
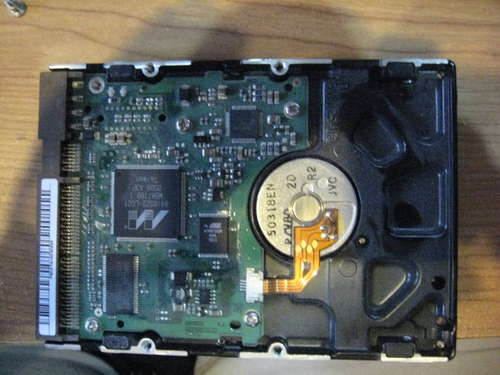
Remove the Actuator and PC board
Unscrew five back screws, three front screws, and remove the ribbon cable that connects the PC board to the motor by disconnecting and separating each colored wire.
|
| |
|
7
|
|
|
 |
|
Remove the Arm and Circuitry
Unscrew Allen screws from the middle of the arm and the two from the ribbon connector to remove the arm and circuitry.
|
| |
|
8
|
|
|
 |
|
Remove the separators
Unscrew the three screws from the plate and lift the washer off the top of the last platter then remove the platter.
|
| |
|
9
|
|
|
|
|
Remove the motor
Unscrew the screws from the motor assembly and remove the motor by pulling it up and out of the hole.
|
| |
|
10
|
|
|
|
|
Notes
All screws may be tightly secured and resist unscrewing, the actuator and the platters could be removed in ether order.
|